And here we get into the discussion of our comprehensive privacy and walk creation flow. As a Walk With Me user, you have absolute full control over who sees your walks, who can and cannot join them, who can even request to join, when the walk takes place, where it starts, where it goes, its purposes, and the list goes on and on.
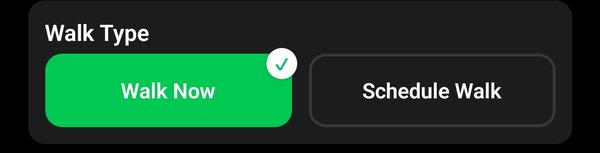
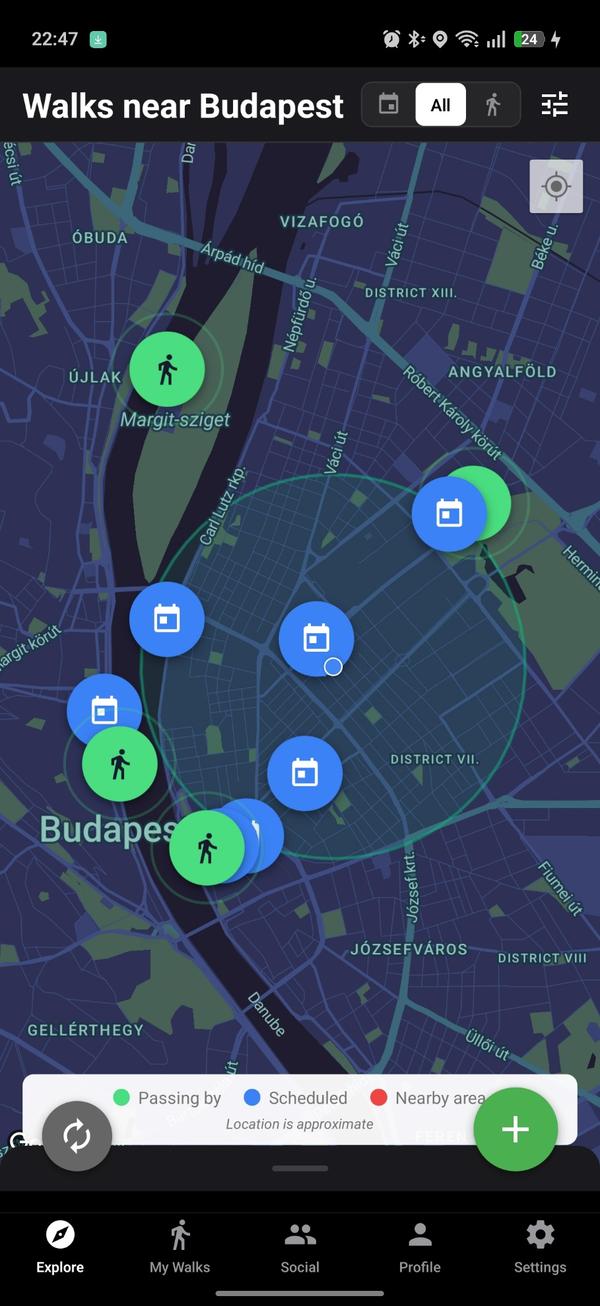
1. Walk Now or Schedule Your Walk
This first step is self-explanatory. You have the choice of casually booting up the app and going for a walk, allowing people to know that you're walking so they can request to join. Or if you want to make plans for a hike, a social gathering like a picnic, or whatever else, you schedule it.
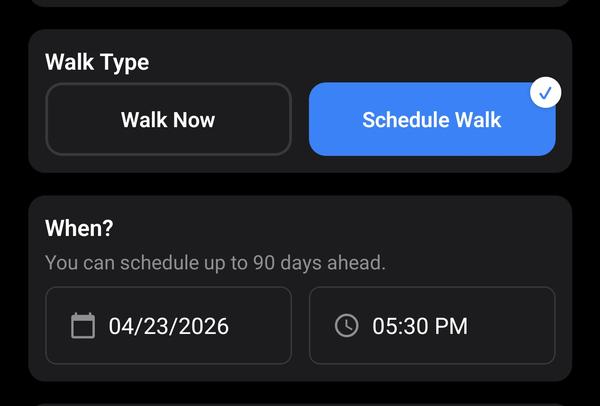
When you choose "Schedule walk", the modal gives you two additional fields: one for a date and one for a time in increments of 15 minutes. And that's it, you get to choose when the walk will take place and officially schedule it!
Of course, not all subscription tiers have the same lookahead period! Premium users can schedule walks a month ahead, Power Walkers 90 days, and Touring Agencies 180 days ahead!
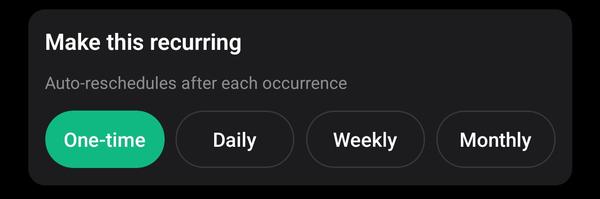
2. Recurring Walks (Power Walker Feature)
Power Walkers can create recurring walks that repeat on a daily, weekly, or monthly schedule, up to 5 active templates. Touring Agency subscribers get unlimited recurring walks. Each recurring walk automatically generates future instances so participants can join upcoming sessions. This saves time on the "administration" of manually scheduling walks by hand.
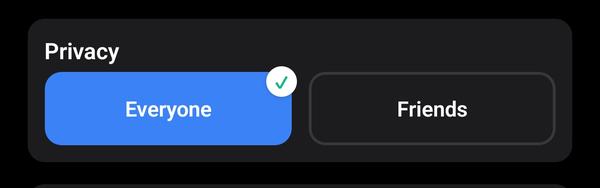
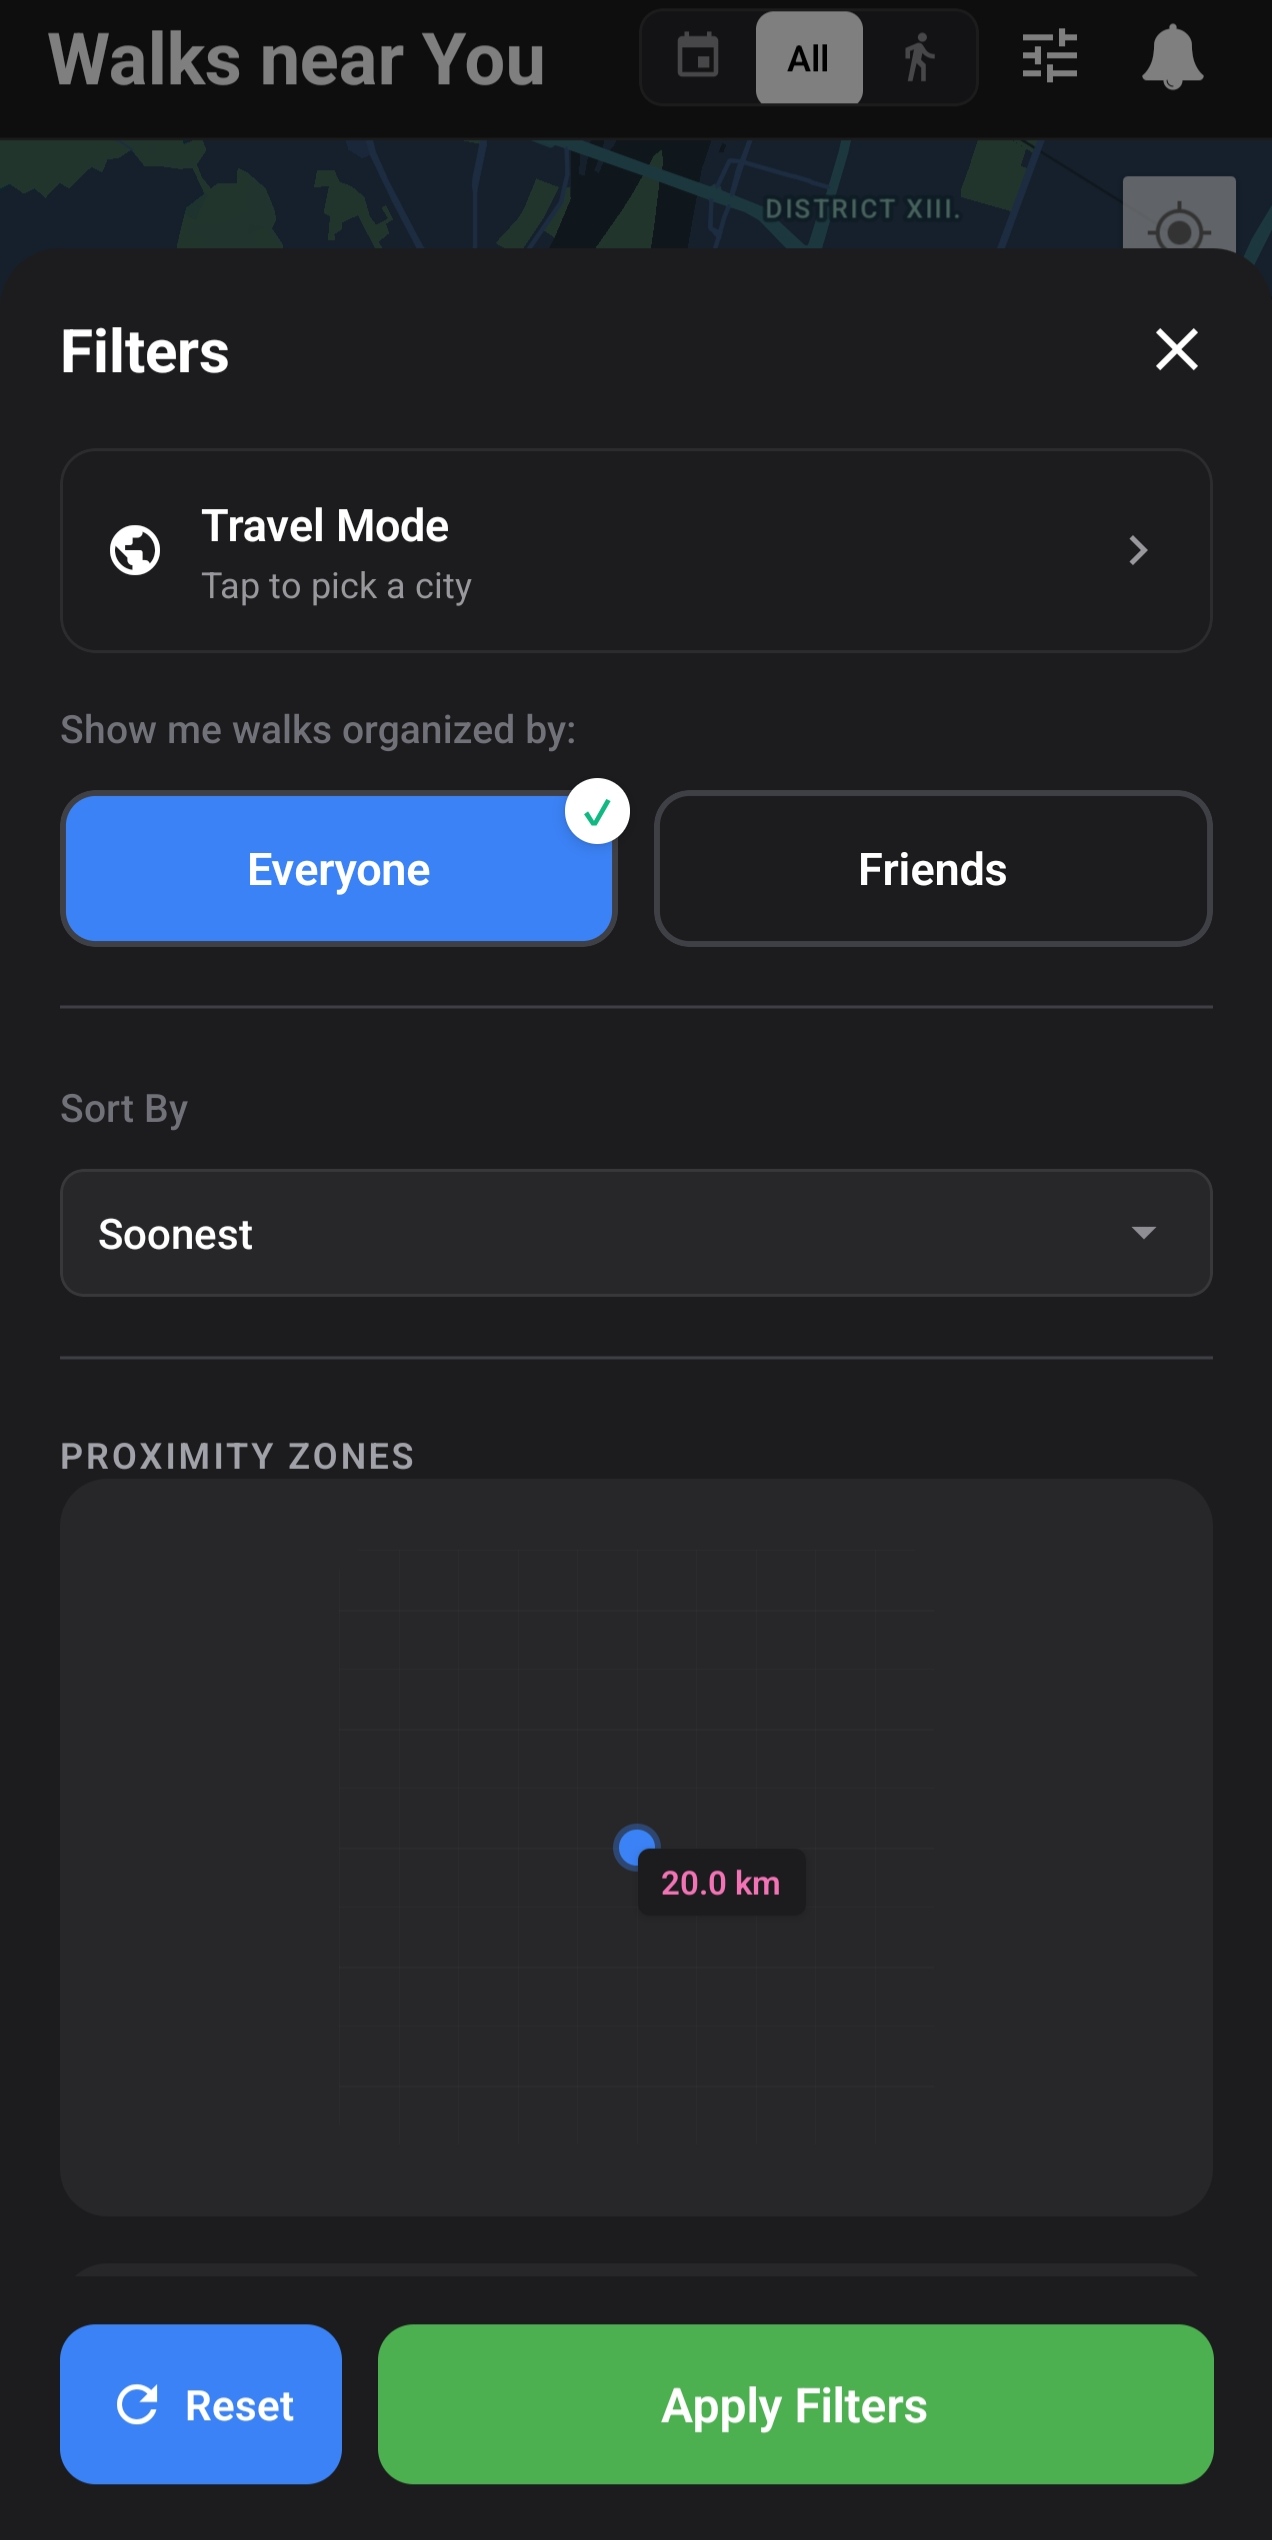
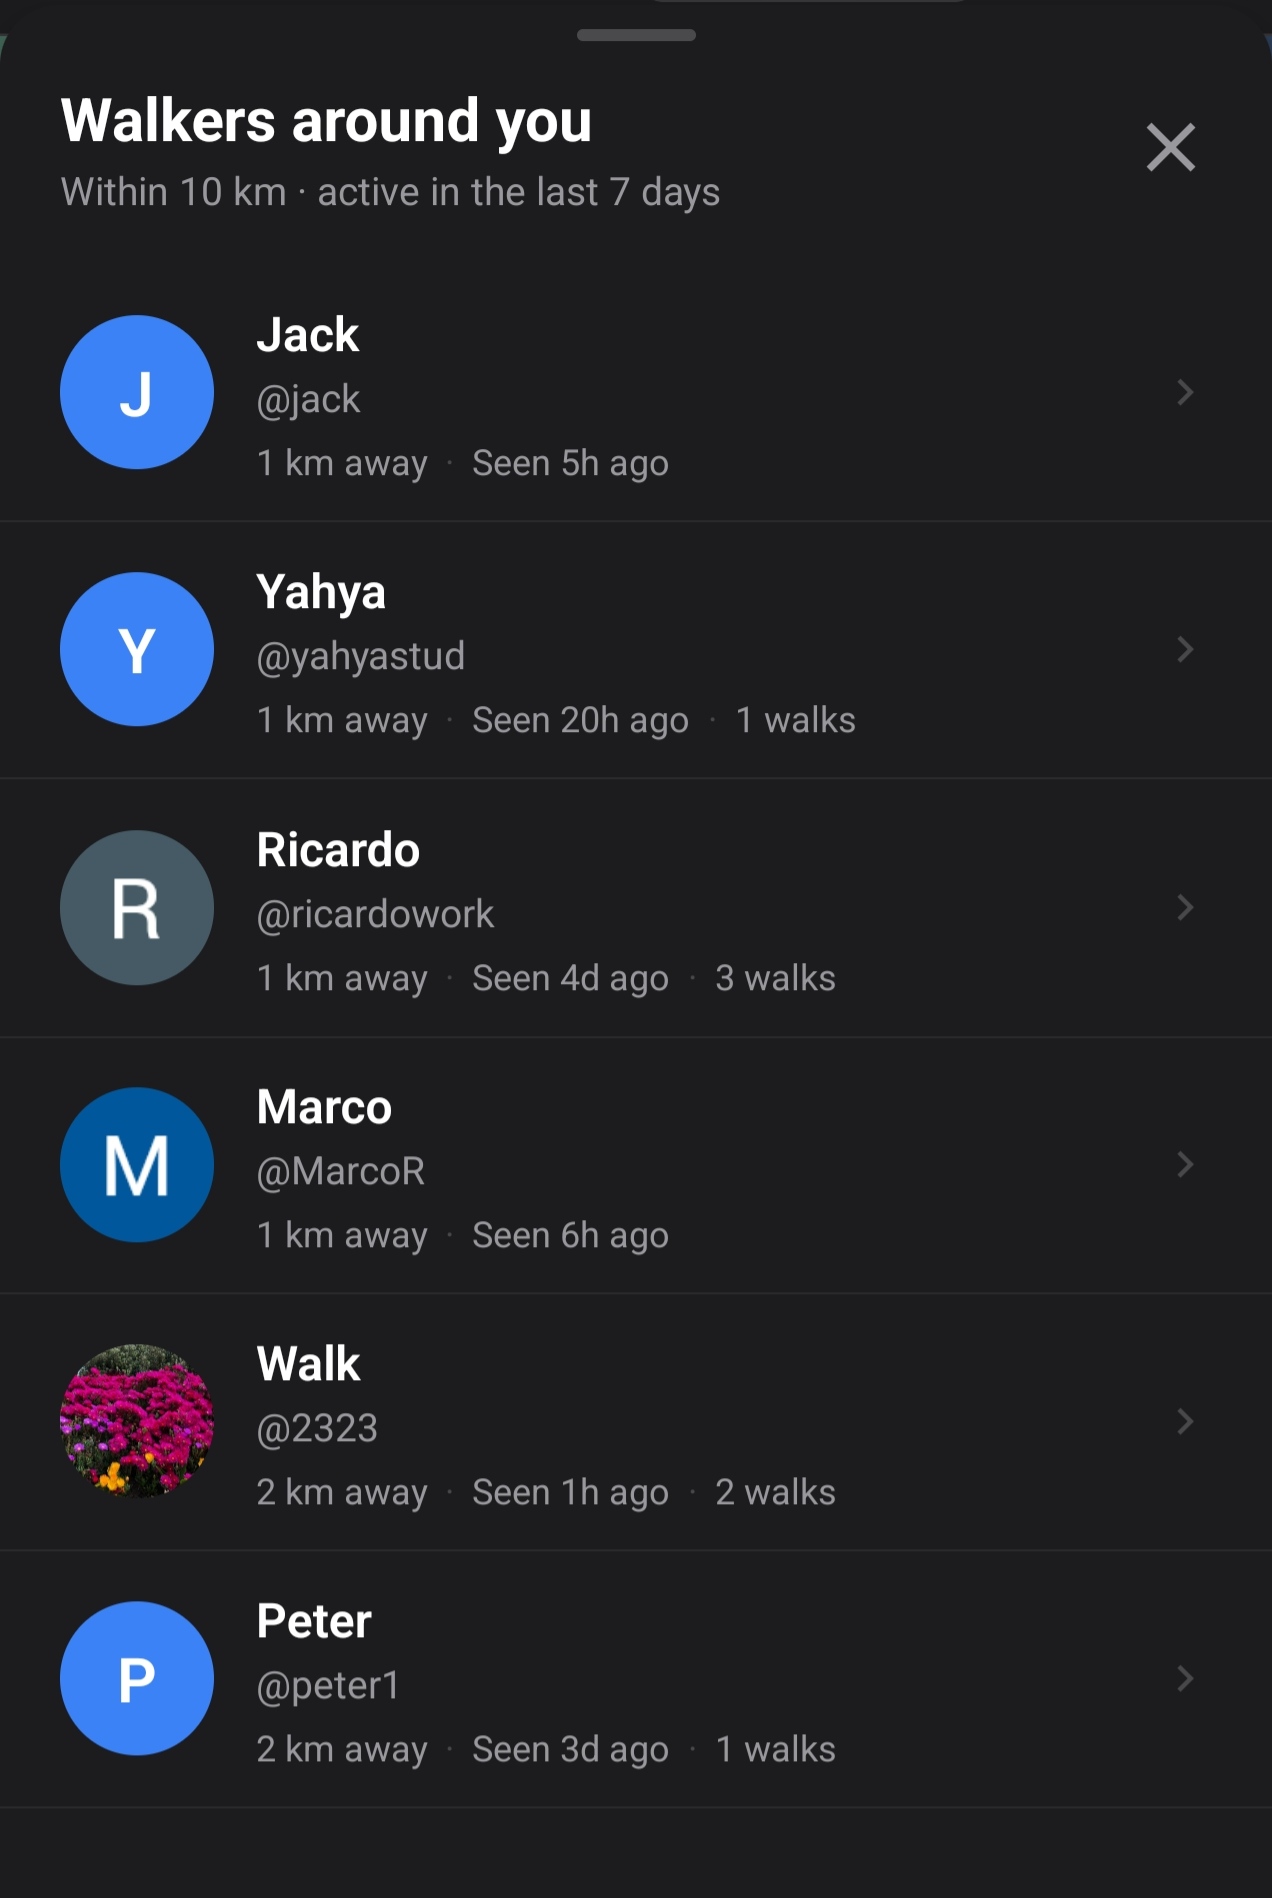
3. Who Can Join? Friends or Everyone?
This one is also pretty self-explanatory. Walk With Me has an "Add a Friend" feature, and you can choose if you wish your walks to only be visible to friends to maintain a close circle of a walking community, or if you want to let anyone in your area join in on your walks and enjoy your company!
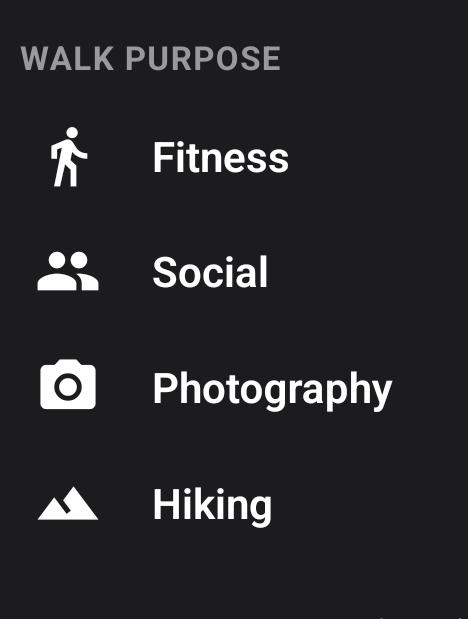
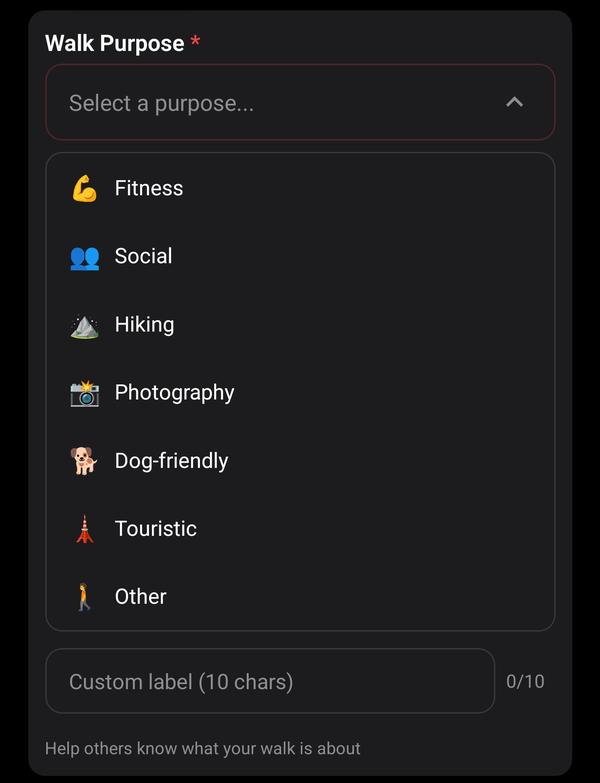
4. Walk Purpose
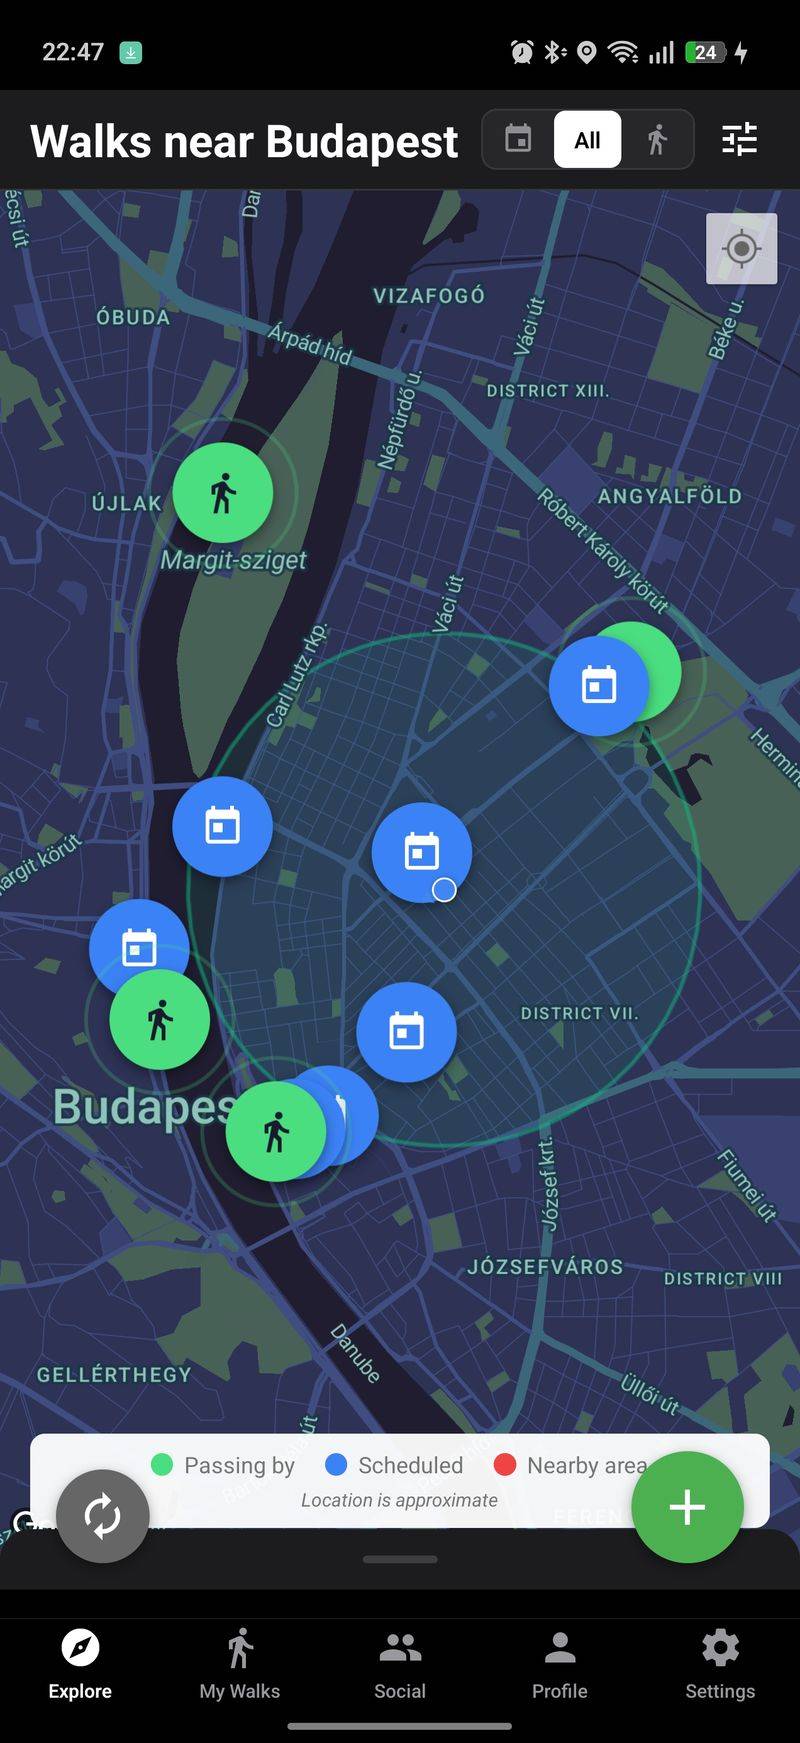
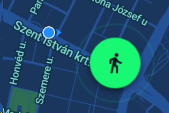
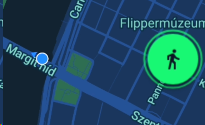
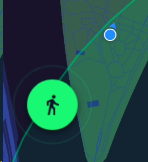
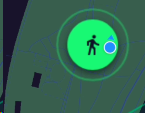
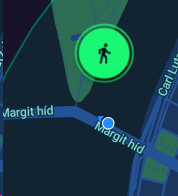
Walk purpose lets you choose what you want to walk for, and this lets people know beforehand what to expect during the walk. Are you maybe a photographer who likes street photography and wants to walk around and take photos? Are you trying to meet new people on the app and want the walk to be more social? Or maybe you're serious about hiking a trail and you want people to come in with their hiking equipment? Your walk, your rules! And depending on what you choose, you get a special walk marker on the map with one of these icons:
Dog walkers get a special banner and color! Namely a cutesy dog paw with a pink color!
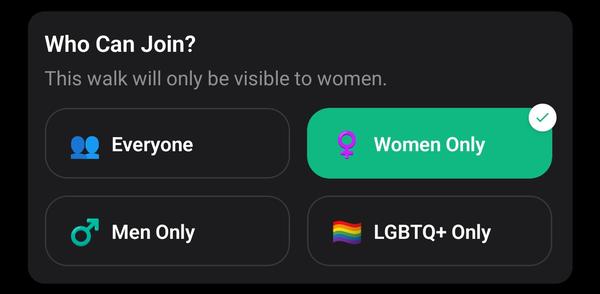
5. Gender Preference
This feature was made for men, women, or members of the LGBTQ+ community who do not wish to have certain genders in their walks. You can create women's walking groups or LGBTQ+ only walks. We at Walk With Me recognize that some people might misunderstand the app and use it as a dating app, which is why we want to give people the privacy and security to ensure that only people of a certain gender can join.
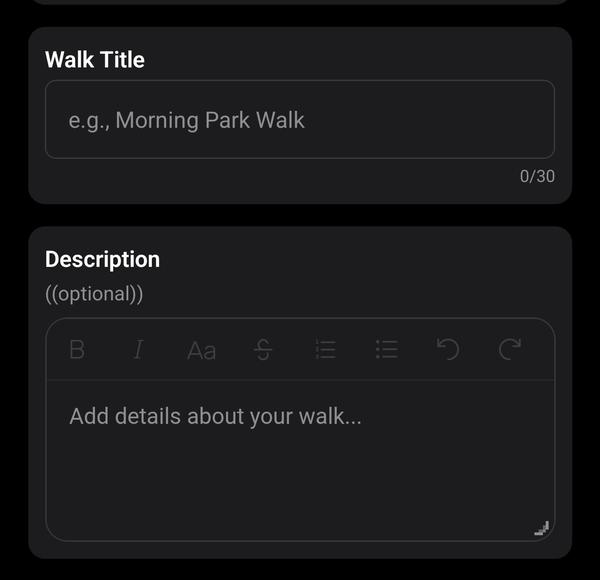
6. Walk Title and Description
Another self-explanatory field. This is where you can include more details about your walk. You can include links as well in case you wish to provide more context and information about what you have planned.
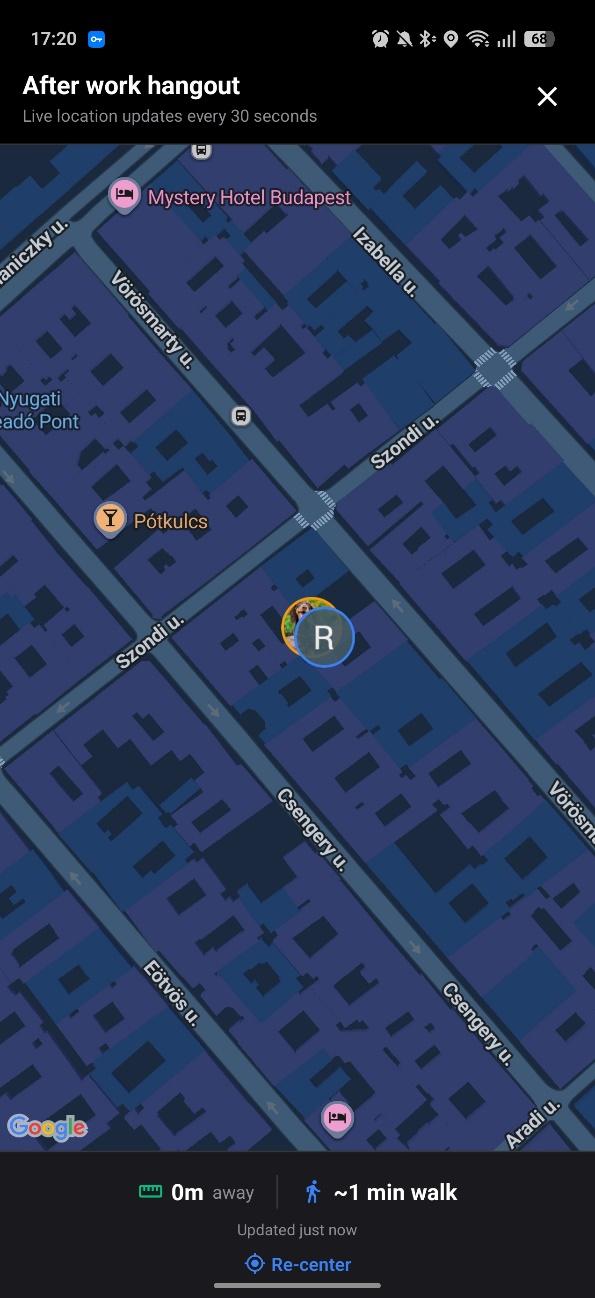
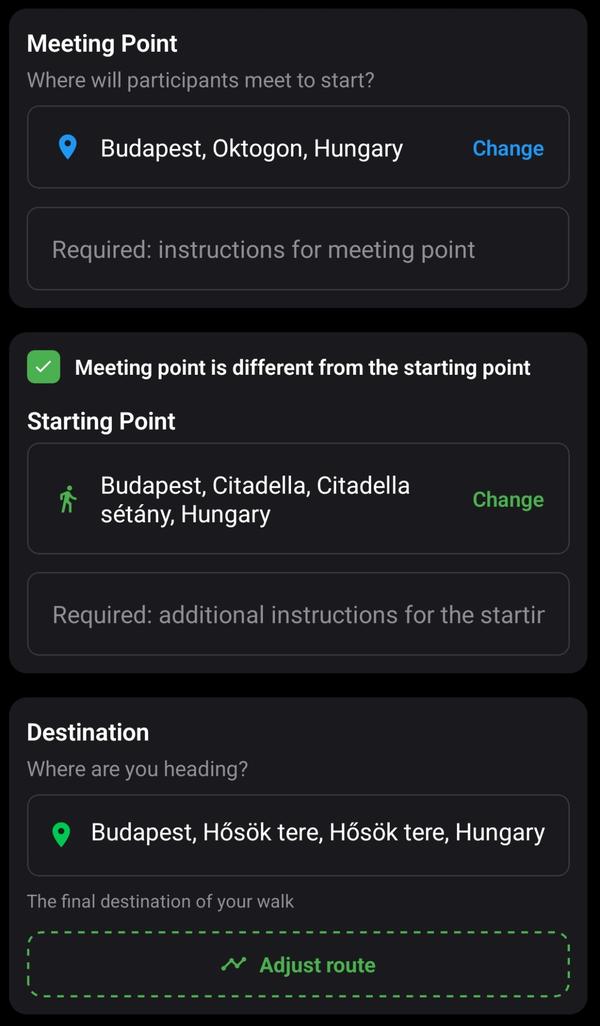
7. Meeting Point, Starting Point, and Destination
In this section, you're able to set a meeting point. This is where the marker of the walk will be located and where people are supposed to meet to head for the walk you're organizing. Now, I've run into some community managers and walk organizers who prefer to meet somewhere and start their walking journey somewhere else. This is a valid concern, and I found out that hikers especially like to meet at a station of some sort and then take public transportation to get to the trailhead, which is why the starting point is actually where the walk begins. The destination is where the walk is headed and where you think it should end!
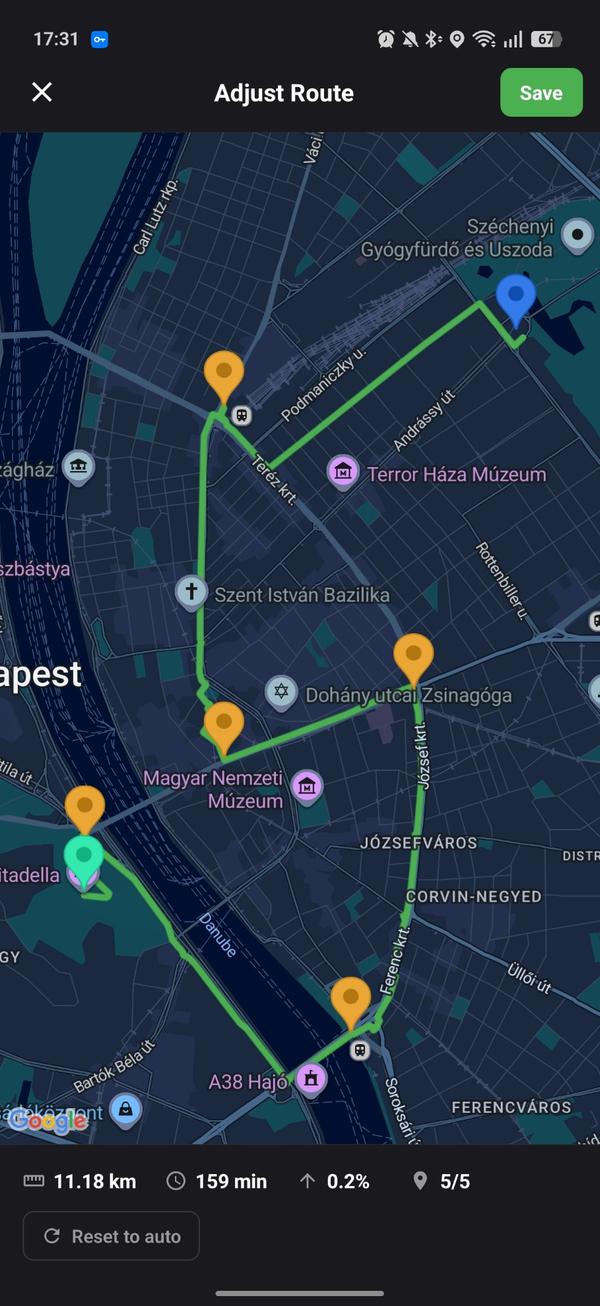
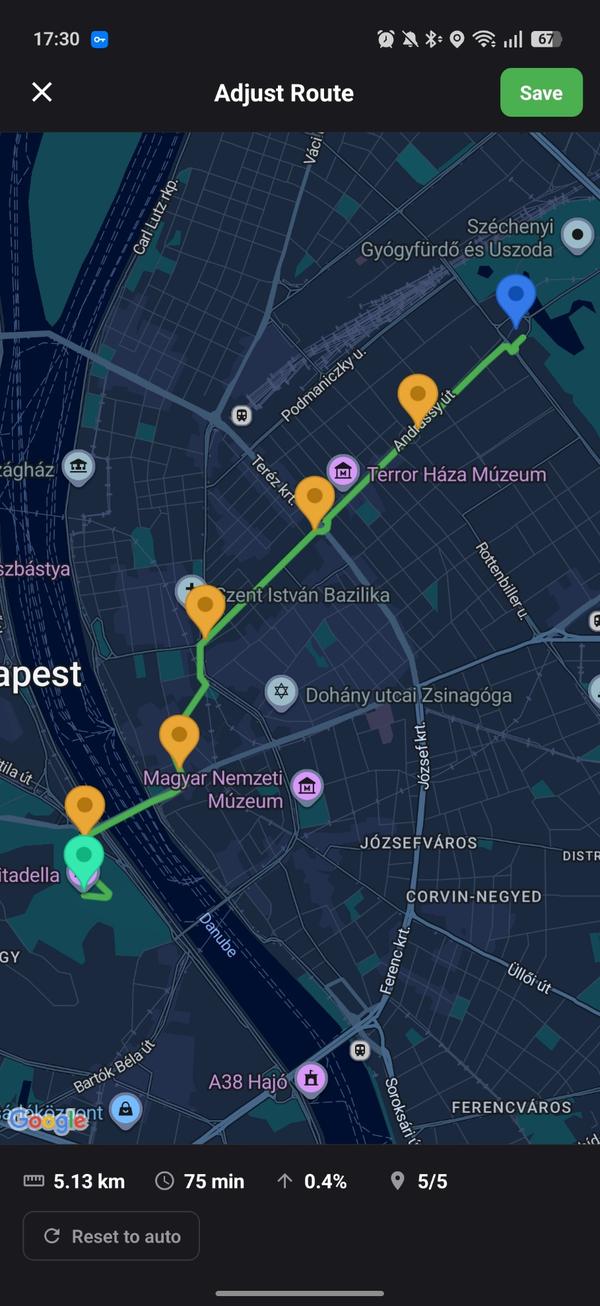
8. Itinerary
After you've set up your meeting, starting, and destination points, you get to customize your itinerary. Google Maps' automatic itinerary is simply the most efficient and effective way of going from point A to point B, but we know that many of us like to make our own routes. Touring agencies especially have certain destinations along the way that they want to hit during the walk. For this reason, we give you pins in the itinerary window where you can set your exact route: where it starts, where it goes through, and where it ends.
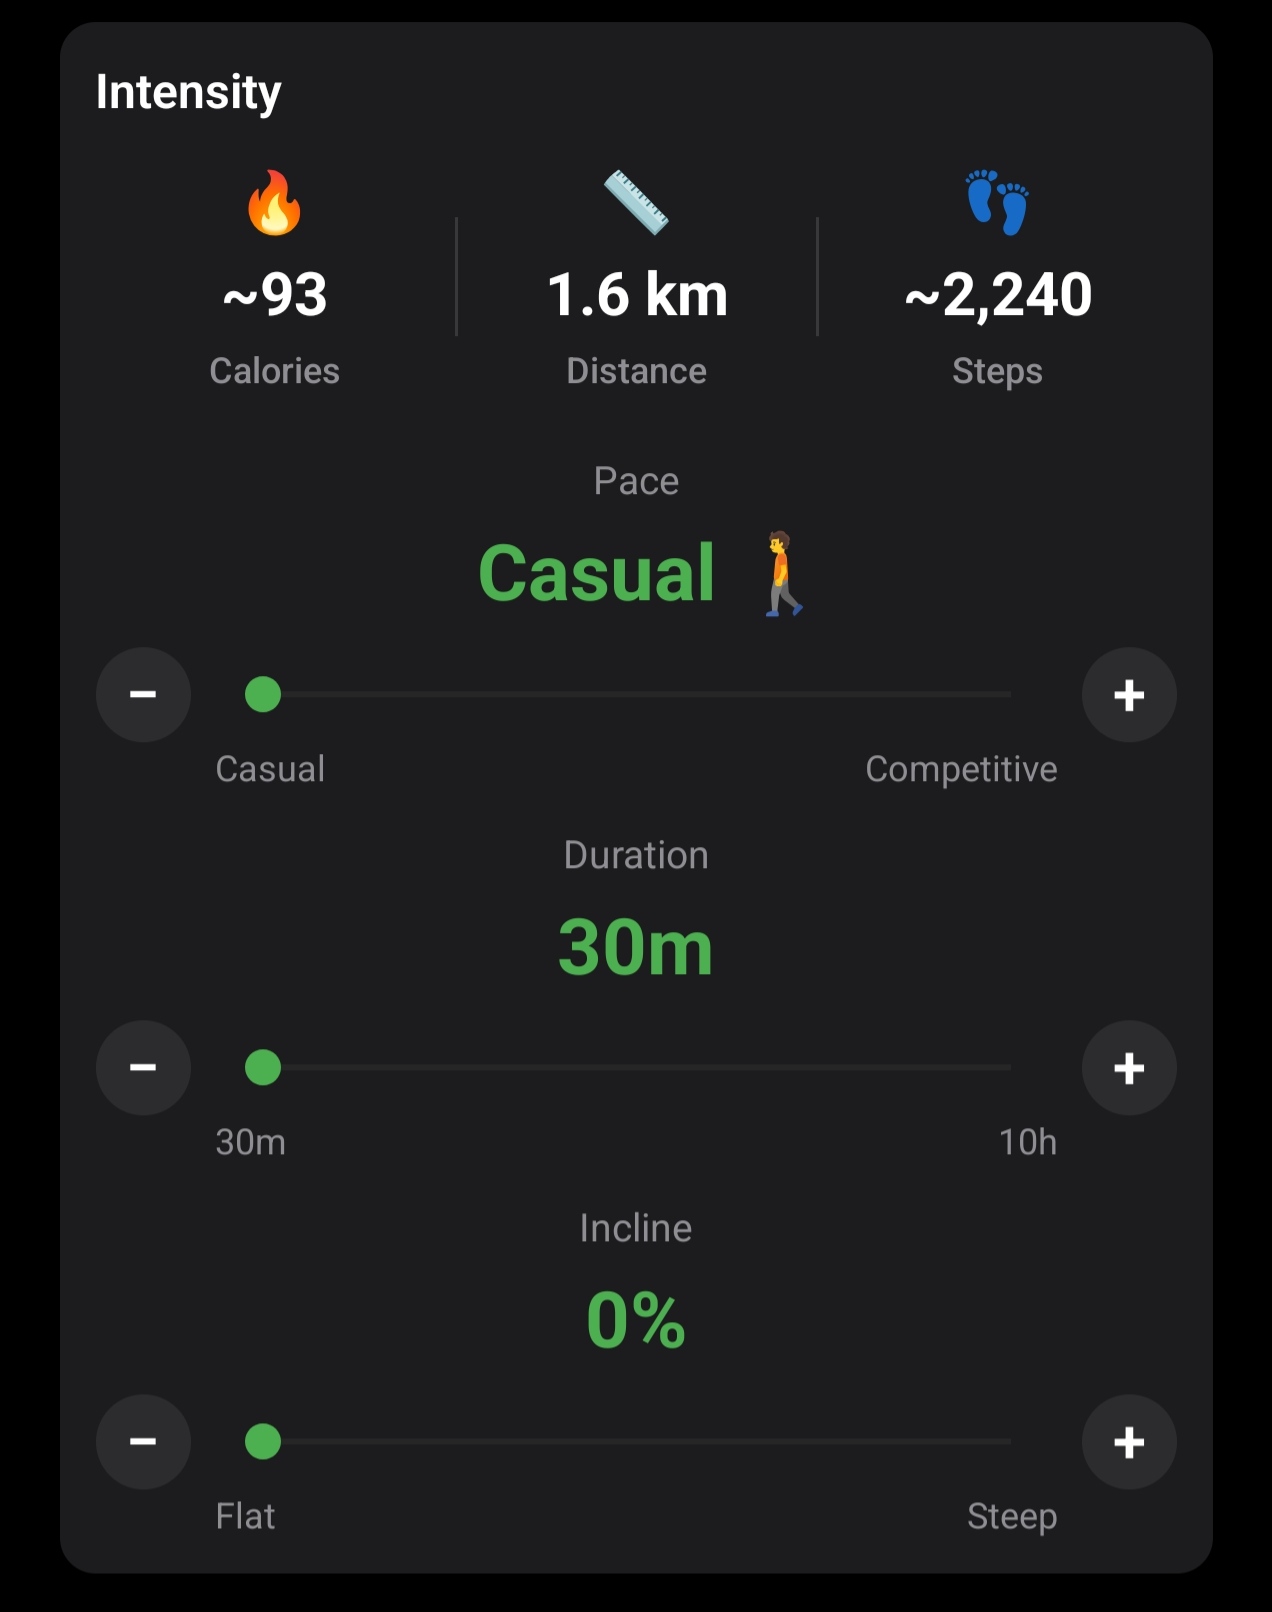
9. Quick Walk Detail Overview
This section gives you, at a glance, quick details about your walk at different paces. Of course, the faster your pace is, the more intense the numbers will look, and the inclination also makes the walk more or less difficult. So it is always important to keep that in mind when scheduling a walk.
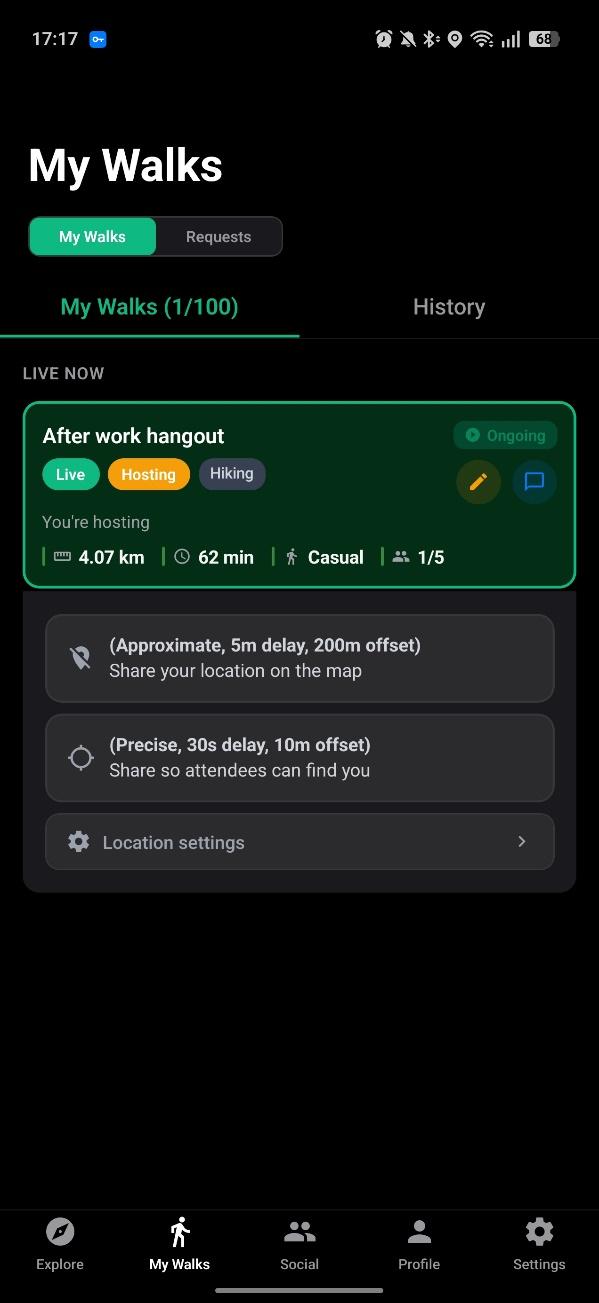
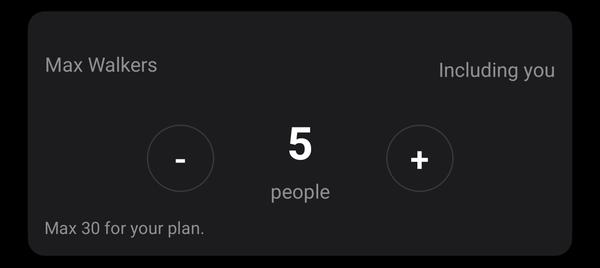
10. How Many People Can Join Your Walk?
This is another self-explanatory feature. You simply choose how many people can join your walk.
And with that, we went through every single feature that shipped with the app's create walk experience! I hope you learned something new and hopefully this will make your walk creation experience smoother and more comprehensive! If you have any questions, check out our FAQ or read about all our safety features.